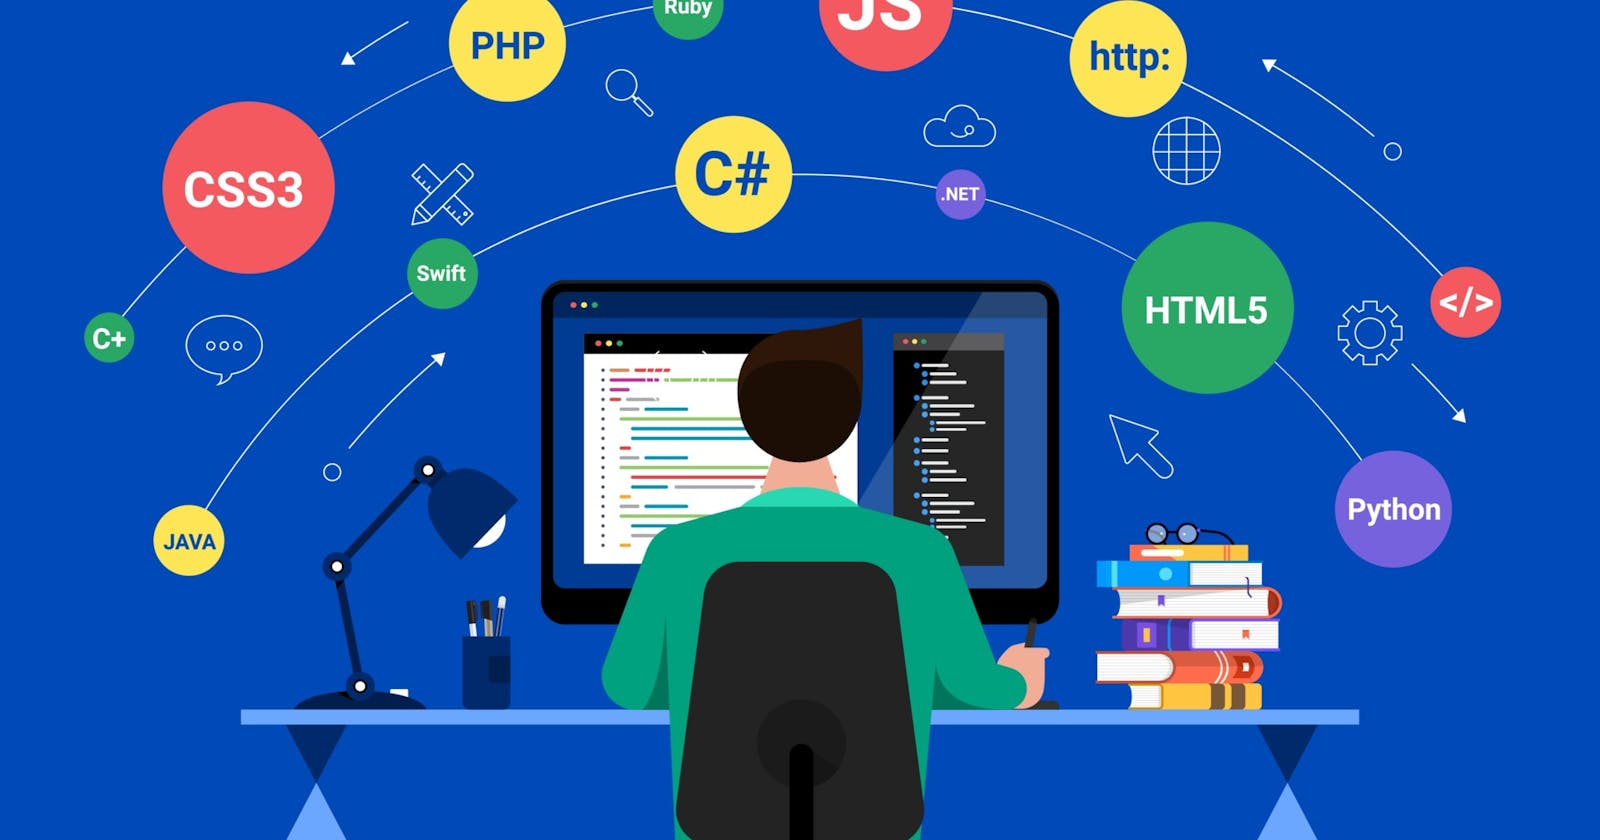


Over 25 years ago I played around with HTML, nothing serious thefore I decided i should begin with the basics. I am following and coding along with a 12hr+ BootCamp course provided by Anna Kubow. I have completed the HTML and CSS section, this is a brief overview of what I have learnt. Visit my website munchbyte.net to how I used what I have learnt, will add more as Iearn more. I will add a resources page to my site with links to training sources I use and other alternatives.
HTML
Starting off with the basics, basic page setup HTML tags to tell the browser what to display. Using a few different HTML tags to change how to display the text.
< h1 > up to < h6 > for title < p > formats it into a paragraph < strong > turns the text bolder < em > italic < a > anchor tag for link to text in document or an external link < a href > adding the href attribute will tell the browser the path of link, it will be an absolute path with the full address for example a href =" https :// hashnode.com " or a relative path like < a href="aboutme.html" > this would be in the same directory as the page you are currently viewing. A text only web page is not very exciting so want to add some pictures to attract more visitors, to do this we use the < img > tag. This tag instructs the browser to display an image. The src attribute tells points to the source of the image general it will be in a folder within the same directory, external sources can be used to for which you will need the absolute path including the HTTP. other attributes can be added like height and width. These are just a few of the most commonly used tags. Another important tag is div, < div > tag defines a division or a section in an HTML document, and is used as a container for HTML elements, which is then styled with CSS or manipulated with JavaScript.
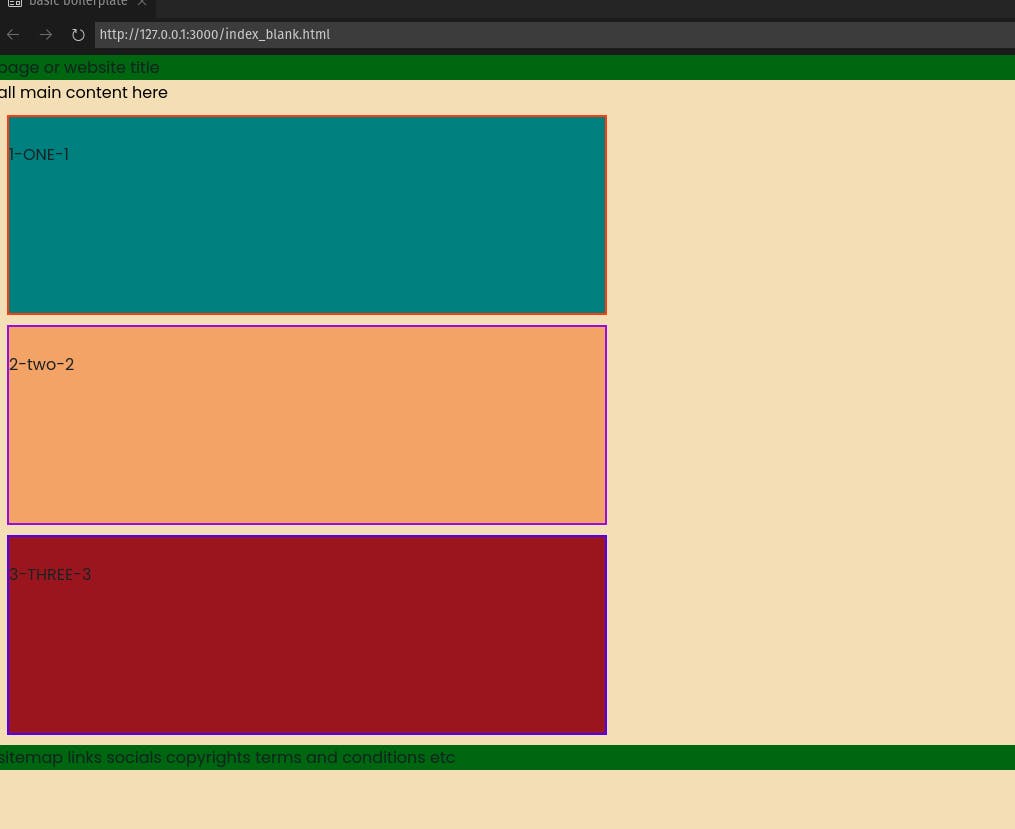
Three < div > tags giving you three boxes which you can style size color, background etc, each can contain different elements. initially when you add a div no matter how many there is they will all be exactly the same, so to style and layout as needed we use CSS define elements within the HTML document.
CSS - cascading style sheets
This is were all the layouts and styling happens. We can add CSS to an element by adding [style="width: 300px"], but for a better workflow and more orgainised code we setup a css file, this way we don't need to edit each HTML document they all share the same style sheet. The first thing we can do is apply classes and id's to the div. classes can be applied to any number div's but an id is unique so can only attributed one div in a HTML document, its a bit like a label so when browser comes across this name it will use the instructions in the css file to display the page as intended. There many ways we can style our div we will start off with sizes.
COLORS, BACKGROUNDS, BORDERS, SIZES...
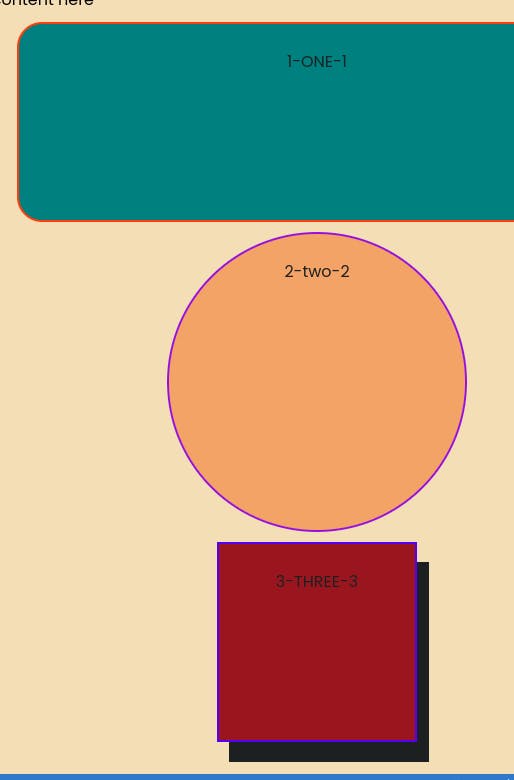
The div has no parameters or instructions so we see nothing other than the content. we need to give it some instruction. In our CSS we grab the div class name for example: < div class="box1" > < /div > CSS: .box { width: 500px; height: 500px; } In CSS we use {} like the <> tags in HTML, everything within the curly braces will be applied to any div with the class box1, that gives us the ability to change multiple divs across different pages with 1 set set of instructions, and if we want change one of those container slightly we can assign an id to override the class attributes. We can apply background colors, gradients, add borders with defined colors, sizes and weight. adding the element border-radius will allow you to turn the box into a circle. We can add shadow to our box and we define the size, the color and the transparency.
 Fonts, we can apply fonts globally and also apply them to individual div's, we change sizes and format.
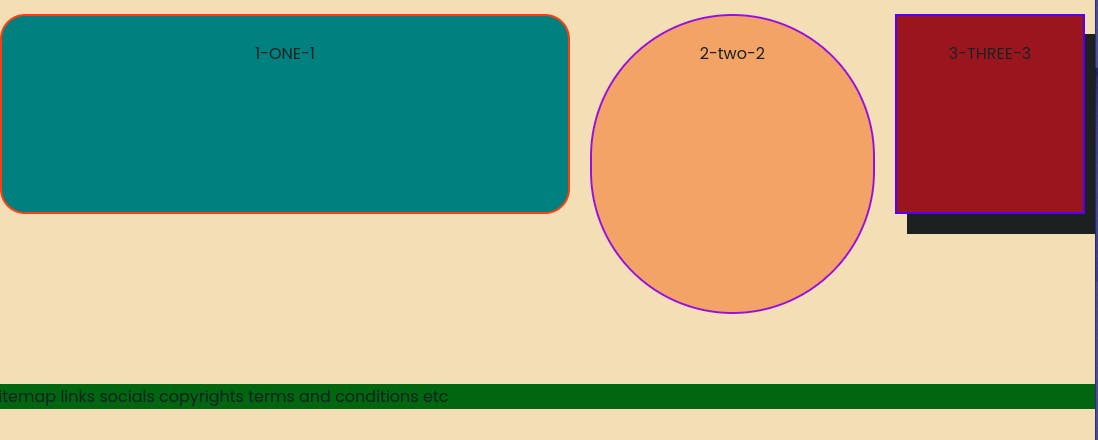
FLEX
In the above illustration the boxes are stacked by default, maybe we don't want it displayed like this. to change the layout we use flex, first we need to create a container div to put three boxes in and apply the flex element to this div.
.container {
display: flex;
flex-direction: row;
We can change the layout and style of everything within the container, which direction they flow, margins, space between appl flex-wrap to change position as the screen size changes and much more.
Wrap-up
I have learnt a lot so far, I haven't gone in to every detail as this is not meant to be instructional, I recommend anna kubow's tutorial. One of the good things about the video is Anna encourages you to create your own profile as you go through the course. And I have used this to create my profile. I have created my profile site munchbyte.net I have used what the techniques from the video to build my site from a single page about me to something a more slick and i will continue to improve. I used flex to set out the different section on my site start with a hero card, then a brief about me section with a link to an about me page with a more details. Below this I have a projects section with display cards, intend to create an animated version further down the road. version 2.0 will be uploaded after this post is published. Next is the javascript section of the bootcamp.